How to Use a Teleprompter on iPhone, Step by Step
To use a teleprompter on iPhone, put your script into a teleprompter app, set the scroll speed and text size, and record with the front camera while the text scrolls just below the lens. The whole setup takes a few minutes; the steps below use Gazecue, but the same settings exist in most prompter apps.
What you need
- An iPhone (Gazecue also runs on iPad) with iOS 17 or later.
- A teleprompter app that records video. Here: Gazecue from the App Store.
- A script. Short is easier for a first try: 80 to 150 words is a minute or less at a normal pace.
- Something to hold the phone at eye level. A small tripod, a shelf or a stack of books all work.
You do not need an account. The camera and microphone are used only to record; if you do not allow the microphone, the app still records video, just without sound.
Step 1: Get your script in
Open the Scripts tab and create a new script. You can type it, paste it from Notes or a document, or import a .txt, .md, .rtf or .pdf file. There is no limit on the number of scripts, and you can mark the ones you use often as favorites.
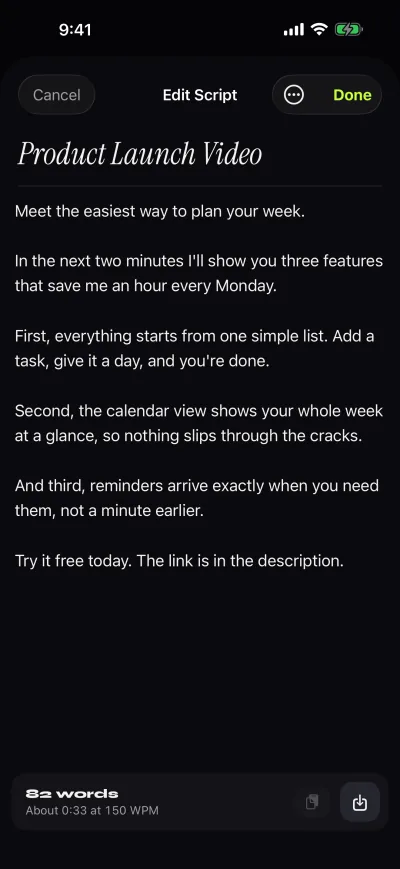
Watch the line under the title. The editor counts the words and tells you how long the script takes to read at the current speed. In the screen above, 82 words take about 33 seconds at 150 words per minute. If that number is far from the length you want, edit now rather than rushing later.
Step 2: Set the speed in words per minute
Open Prompter Settings. The speed is set in words per minute (WPM), from 60 to 300; the default is 150, which is a calm conversational pace for most people. You can change it with plus and minus while the script scrolls, so start at 150 and adjust during a practice run instead of guessing.
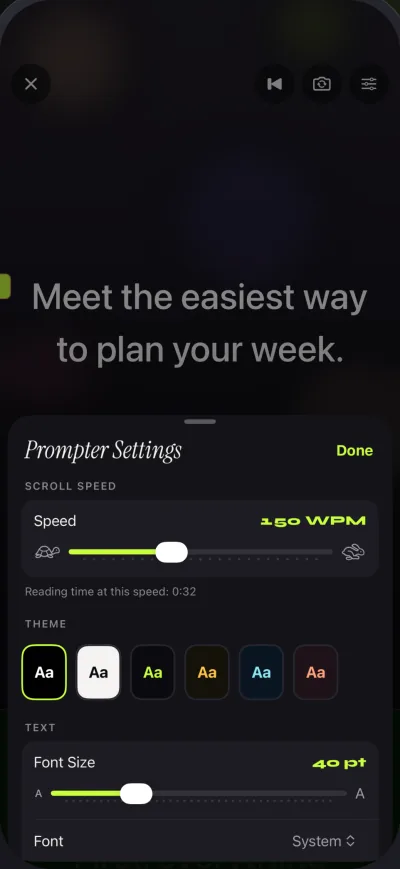
If you are not sure where to start, the article on teleprompter speed in words per minute has a table of reading times by script length and speed.
Step 3: Text size, font and margins
Text size goes from 20 to 96 points. Bigger is not always better: large text means fewer words per line, more scrolling and more eye movement. A good rule is the smallest size you can read comfortably from where you will sit. You can also change the line spacing and margins, choose between four fonts (System, Rounded, Serif and Monospaced) and align text to the start of the line or center it.
Narrow margins and centered text keep your eyes in a smaller area, which helps eye contact. Wide text is easier to read but makes your eyes travel left and right across the screen.
Step 4: Put the reading line near the camera
The reading line marks where the line you should be reading sits. In Gazecue it starts at 33% of the screen height, a third of the way down, so the words you are speaking stay close to the front camera at the top of the phone. You can move it. If the camera sees you looking down, move it up; if you keep reading ahead of yourself, move it down a little.
This one setting does more for eye contact than any other. The reasoning, with a little geometry, is in how to read a script and keep eye contact.
Step 5: Choose the camera and a countdown
Pick the front camera to see the script while you film yourself, or the back camera when someone else holds the phone. Set a countdown of 3, 5 or 10 seconds (or none) so you can settle before the text starts. Turn on auto-stop at the end if you want the app to stop by itself when the script runs out.
If you only want to read, for example for a talk or a live call, prompt-only mode turns the camera off and keeps the prompter.
Step 6: Record
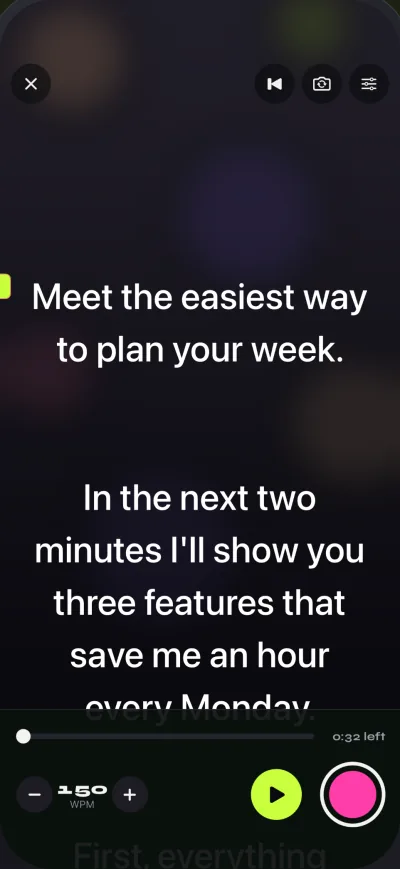
Press record, wait for the countdown and start speaking when the first line reaches the reading line. Keep your voice at your normal pace and let the speed setting do the work. If the text runs away from you, tap minus; if you are waiting for it, tap plus. Do one throwaway take first. It is the fastest way to find the right speed.
In the free version each take stops at one minute and is saved before it stops, so nothing is lost. Pro removes the limit; see pricing for the details.
Step 7: Review, share or save
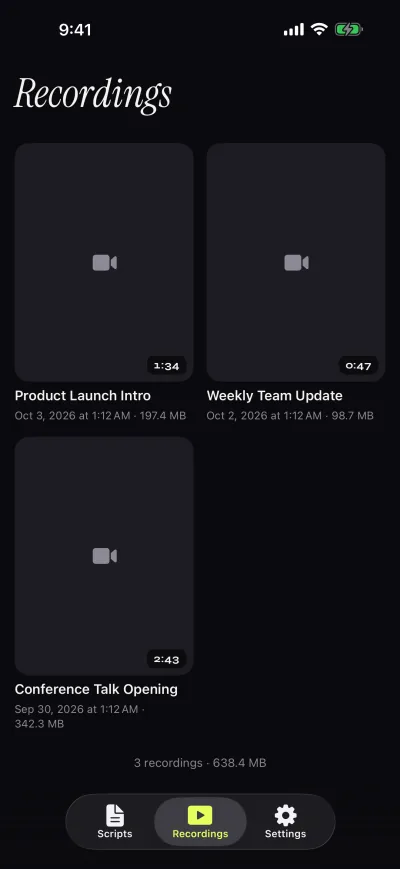
Every take lands in the Recordings tab with its length and date. Play it back in the app, then share it or save it to Photos. You can also turn on automatic saving to Photos in Settings. Videos shared or saved from the free version carry a small "Made with Gazecue" mark; playback inside the app is clean.
Common mistakes on a first take
- Holding the phone too close. At close range every line you read moves your eyes visibly. Put the phone at arm's length or farther and lower the text size to match.
- Phone below eye level. The camera looks up your nose and you look down at the screen. Raise it until the lens is level with your eyes.
- A script written to be read, not said. Long sentences that look fine on paper are hard to say in one breath. Read it aloud once in the editor and cut what you stumble over.
- Chasing the text. If you speed up to keep pace, lower the WPM. The script should wait for you.
- One long take. Record in short sections. They are easier to redo and to edit together later.
Quick checklist
- Script in, word count and reading time checked.
- Speed around 150 WPM to start; adjust in a practice take.
- Smallest comfortable text size, narrow margins.
- Reading line near the top (33% by default).
- Phone at eye level, arm's length or farther.
- Countdown on, auto-stop on, record.
For the specific case of talking-head videos, the YouTube page lists settings to try, and the facts page sums up what the app does.